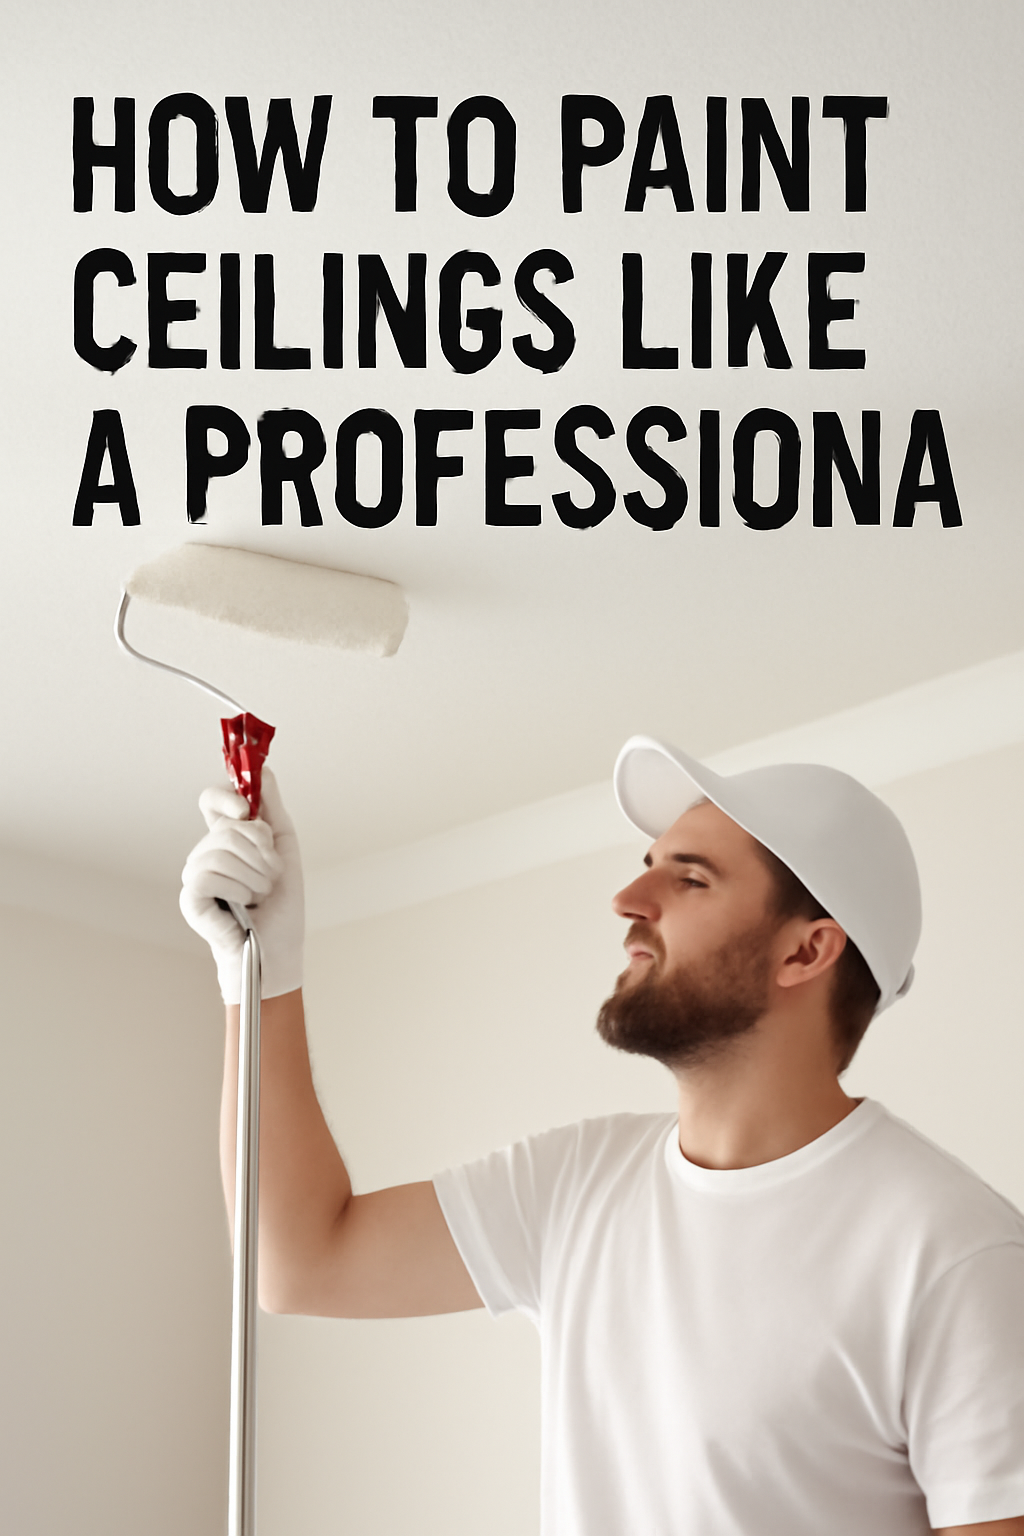
Ceiling painting often intimidates homeowners, but with the right techniques and preparation, you can achieve professional-quality results that transform any room.
Prepare the Room Thoroughly
Success begins with proper preparation. Remove all furniture from the room or move it to the center and cover it securely with drop cloths. Protect your floors with durable canvas or plastic drop cloths, securing them with painter’s tape to prevent slipping. Apply painter’s tape along the edges where walls meet the ceiling to create clean lines and protect walls from accidental paint.
Select the Right Paint and Tools
Choose a high-quality ceiling paint with a flat or matte finish, which minimizes light reflection and conceals surface imperfections. Look for formulations specifically designed to reduce splatter, making your job cleaner and easier. Use a high-quality synthetic brush for precision work around edges and a roller with an extension pole for larger surfaces. For smooth ceilings, select a low-nap roller cover; for textured ceilings, use a thicker 3/4-inch nap to reach into surface pockets.
Repair and Prime First
Inspect your ceiling carefully for cracks, holes, or imperfections. Patch these areas with spackle or joint compound, allowing adequate drying time before smoothing with sandpaper. Apply a coat of primer before painting to enhance adhesion and ensure even coverage, particularly over repairs or stains.
Master the Rolling Technique
Roll parallel to your room’s main source of natural light to minimize visible roller lines. Use the “W” or “M” technique—creating overlapping W or M patterns with your roller—to distribute paint evenly and prevent streaks. Work in manageable 4-by-4-foot sections, maintaining a wet edge by blending each new section into the previous one while the paint is still wet.
Work Slowly and Strategically
Roll slowly and with consistent pressure to reduce spattering and avoid creating “fat edges” or ridges left by the roller. Start near a corner and progress outward systematically. Ensure adequate lighting during your project to identify any missed spots or uneven areas as you work.
Allow Proper Drying
Paint your entire ceiling in one session to ensure uniform drying and color consistency. Wait for the first coat to dry completely before determining whether a second coat is needed.
Why Choose Redentor Pte Ltd?
While DIY ceiling painting is possible, it’s physically demanding and requires precision to avoid common mistakes like visible roller marks, uneven coverage, and paint splatter. Redentor Pte Ltd’s professional painters have mastered every technique outlined above through years of hands-on experience. We arrive with commercial-grade equipment, premium ceiling paints formulated for superior coverage, and the expertise to complete your project efficiently without disrupting your daily routine. Our team handles all preparation, painting, and cleanup, delivering flawless ceilings that enhance your entire space. Choose Redentor Pte Ltd for stress-free, professional results every time.
